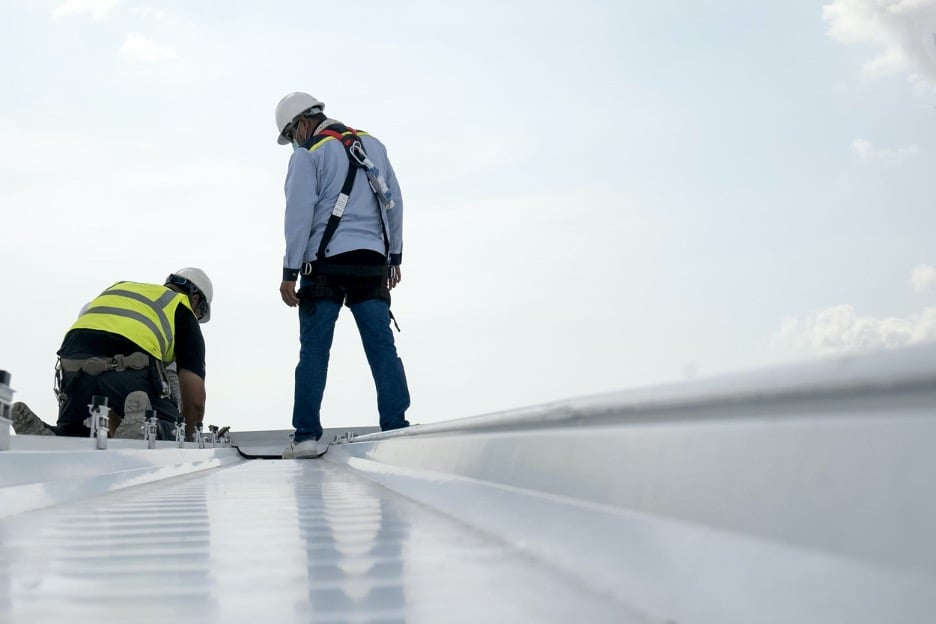
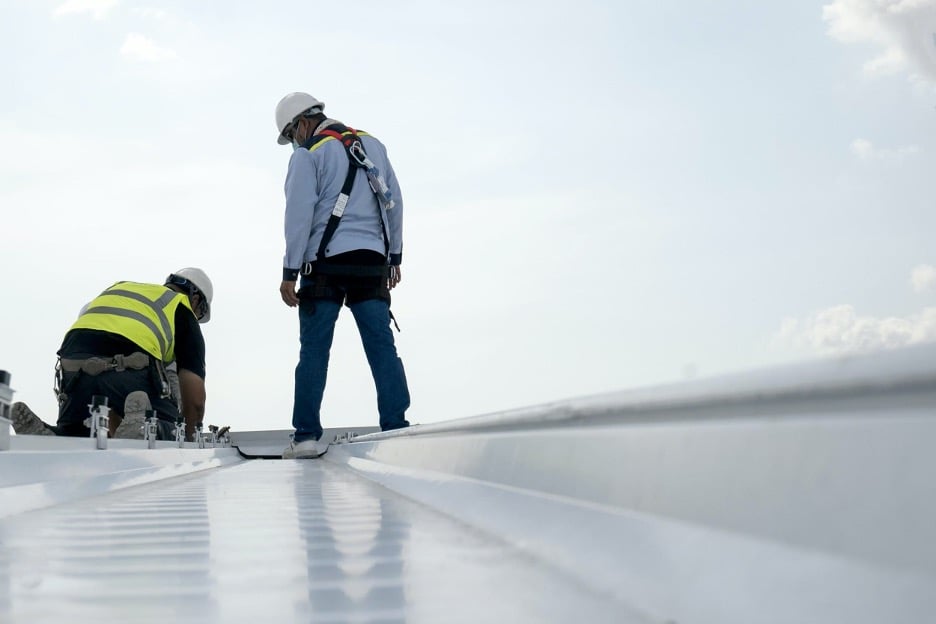
Metal Roof Installation: Video Guide On How To Install Metal Roofing
Time to get rid of your old roof? Installing a metal roof is a bigger process than other roof installations, such as asphalt shingle, with a lot of moving parts and steps. Keeping track of it all can seem overwhelming.
Here at Western States Metal Roofing, we want to make the process easier by compiling all of our expertise and resources from being metal roofing manufacturers for over two decades.
This article discusses the tools, materials, and steps you need to know in order to have a successful metal roofing installation. We have also included installation videos to watch which demonstrate each step.
We will go over the installation of:
- Underlayment
- Fasteners
- Trim/ Flashing
- Corrugated Panels
Before we get started, it’s important to note that you should always read the manufacturer’s recommended procedures prior to installation of your new metal roof. It’s also important to be in compliance with local building code requirements.
Prior to installing a metal roof, you need to install roofing underlayment.

Roofing Underlayment Installation
Underlayment is an overlooked but necessary part of a metal roofing system. This roof covering serves as an extra layer of protection from water.
Installing underlayment correctly is the difference between your roof being weathertight or leaking. For this section, we will discuss a synthetic underlayment installation.
Tools For Installing Synthetic Roofing Underlayment
- Roofing hammer
- Roofing gloves
- Utility knife
- 1.25" electro galvanized roofing nails
Step- By-Step Instructions Synthetic Roofing Underlayment Installation
Follow along by watching our synthetic underlayment installation video:
-
Begin synthetic underlayment installation with the lowest section of the roof.
-
Install the synthetic underlayment over any part of the fascia that will be covered by metal eave or gable flashing.
-
How to fasten the top section of the roofing underlayment.
-
Fastening synthetic roofing underlayment along the fascia.
-
Fold the underlayment at the fascia corner and fasten with an EG nail.
-
Fastening the center of the synthetic roofing underlayment.
-
Overlapping synthetic roofing underlayment.
-
Overlap should run with the flow of water.
-
Fastening the overlap of the underlayment.
-
Roll underlayment horizontal to the fascia.
Corrugated Metal Roofing Installation - Fasteners
Successful fastener installation on metal roofing requires using the correct type of fastener for your roofing material and the correct screw patterns and placement.
The placement of the screws will vary depending on the panel profile and roof sheathing being used.
How Many Fasteners Are Needed To Install A Metal Roof?
A successful roof installation not only needs the right material, but the right amount of materials as well. Here are two easy formulas for determining the amount of metal roofing screws:
- Take your square footage and multiply it by 80%
- 80 screws for each roofing square. A roofing square is 100 square feet.
Example: 3,000 square feet X 80% = 2,400 screws
Example: 30 roofing squares X 80 screws = 2,400 screws
How Many Fasteners Are Needed For Metal Roofing Trim And Panel Sidelap?
-
You will need one lap screw for each lineal feet of trim or flashing
-
Screw count for panel sidelap is determined by dividing the square footage by three and then dividing again by 1.5.
Example: 3,000 square feet divided by three (width of panel) = 1,000 then divide that by 1.5 (spacing O.C. of sidelap screws) = 667 screws
You don’t need metal to metal screws for the sidelap if using ⅞” Corrugated. You will only need sidelap screws for R Panel/PBR Panel and Western Rib/7.2 Panel.
What Tool Is Used To Install Fasteners On A Metal Roof?
A screw gun, not a drill, is needed to install metal roofing. When you let go of the trigger on a drill, it will not disengage. If you do not release the trigger at the right time, the screws will be overdriven which can damage the washers or even the panels. Using a real screw gun such as the Dewalt DW266, DW267, DW268 or the Milwaukee 6780-20 and 6790-20 lessens this possibility.
Use an actual screw gun with an adjustable clutch and a depth sensing control feature. Screw guns are designed for the torque to be adjusted which eliminates over tightening of the screws. Overtightened fasteners is one of the biggest errors made during metal roofing installation. When a variable speed screw gun is used, you are able to change the speed to eliminate this problem.
What Is The Right Screw Gun Speed Setting When Installing A Metal Roof?
In order to avoid installation errors, have your screw gun set to the correct drill speed settings. The correct speed for the drill depends on the substrate and screw type.
- Use a 2,500 RPM screw gun for wood and steel substrates that are less than 1/4-inch thick.
- Use a 2,000 RPM screw gun for steel substrates that are 1/4-inch thick and heavier.
- Use a1,000 RPM to 2,000 RPM screw gun for 304 stainless steel screws.
Once you have your tools and know your fastener type, quantity, and panel you’ll be working with, you can prepare for the installation of the fasteners.
Watch our fastener installation video for proper installation:
To see how screws are placed on a corrugated panel, watch this video:
How To Square Metal Roofing Panels
Whether you’re installing a standing seam roof or a corrugated roof, you want to make sure your panels go on straight. Otherwise, the aesthetic of the roof will be crooked and can also affect the roof’s functionality.
Watch the video below on how to square roofing panels:
Metal Roof Flashing
Trim and flashing is the finishing touch that brings metal panels together to create both a polished appearance and makes your metal roof weathertight. Most roofs have many trim and flashing conditions, however, there are 3 types that nearly all roofs will require.
Common Metal Roofing Trims
- Eave trim/ drip edge
- Gable trim
- Ridge cap
Eave Trim
Eave trim is the first piece of trim that’s installed on a metal roof. It’s used when gutters are not required and finishes off the low sides of your home. It also directs water away from the side of your home.
Watch an eave trim installation here:
Gable Trim
Gable trim is used where the edge of the metal roof panel meets the endwall panels. Put simply, it’s used on the opposite two sides as the eave trim. Protection of this area is crucial. Without it, heavy winds can blow rain into these areas that can accumulate under the roof and into your home.
Watch a gable trim installation here:
Ridge Cap
A ridge cap is used where two metal panels meet at the top of a roof along its ridgeline. Having good quality ridge caps is essential. Ridge caps receive excessive exposure to the elements and can wear down faster than the rest of the roofing. Aside from preventing moisture infiltration, ridge caps provide an attractive finish to where your roof comes together at the apex.
Watch a ridge cap installation here:
Corrugated Metal Roofing Installation
Before corrugated metal roofing is installed, you may or may not decide to pre-drill your corrugated roofing panels.
Should Corrugated Metal Roofing Be Pre-Drilled Before Installing?
Since screws used to install metal roofing are “self-drilling screws”, or screws that drill their own holes through the panel into the substrate, many contractors would argue that pre-drilling is not necessary. In fact, it could actually be very difficult to do if the metal roofing panel is being installed over metal purlins due to spacing. However, there are circumstances when pre-drilling panels does make sense.
When Should You Pre-Drill Metal Panels?
- When attaching to a solid wood substrate.
- When looking to decrease the chance of screws being installed at an angle.
- When looking to use a chalk line to keep screw lines straight.
Tips For Pre-Drilling Metal Panels
- Stack as many panels as you can while allowing the drill to reach all of the sheets without drilling at an angle.
- The amount of sheets varies depending upon the panel profile.
- Use a clamp to ensure the sheets don't move and remain square.
Sidelap Installation On Corrugated Panels
Some corrugated panels have panel sidelap. R-Panels are 36” and provide a full 36” of coverage. You pay for what you get. However, a panel such as ⅞”corrugated will incur a loss of square footage. ⅞” corrugated panels need to be overlapped two corrugations for roofing. If you use this same panel for siding, it will need be overlapped only one corrugation.
To watch a ⅞”corrugated roofing installation including overlap, watch this video:
Check out our corrugated roofing panel installation guides:
- 7/8” Corrugated Installation Guide
- R Panel/PBR Panel Installation Guide
- Western Rib® (7.2 Panel) Installation Guide
Standing Seam Metal Roofing Installation
Standing seam is a popular type of metal roofing that has more than just one type of panel. The three types of standing seam roofing panels are: mechanically seamed, snap lock, and nail strip.
Which Standing Seam Panel Is Most Common?
The Snap Lock panel is the most common type of standing seam panel. It offers excellent performance and style, while also offering a greater value than nail strip and an easier installation than mechanically seamed. However, mechanically seam panels are excellent for a low roof slope and should be used in areas with extreme weather conditions as they are extra weathertight.
Snap Lock is a clip system that, unlike mechanically seamed, does not have the additional labor of seaming each panel together. This makes for a faster installation.
Watch how to install clips on a Snap Lock standing seam panel here:
Need More Help With Metal Roofing Installation?
For panels and accessories needed for your steel roof installation, go to the Western States Metal Roofing website to see our catalog, and request a quote or metal color sample as there are hundreds of colors to choose from for your metal roofing material.
Looking for more residential roofing or commercial roofer guides and step-by-step installation help? Be sure to subscribe to our Youtube channel as we release new installation videos weekly. You can also find everything you need at the Western States Metal Roofing Learning Center to help you have an easy and successful installation.
Check out our standing seam metal roofing installation page
Check out our corrugated metal roofing installation page


