

So, you are thinking about installing a metal roof and you don’t have any experience. You are concerned about installing the trim incorrectly because it will cause your roof to leak. As a DIY builder who may not read plans, a written install guide is confusing. That’s why we created a step by step written guide and a video that will make installing gable trim a breeze.
This installation article specifically covers gable or rake trim installation for an exposed fastener panel such as: R Panel/PBR Panel, Western Rib/7.2 Panel, and ⅞” Corrugated. It isn’t intended for installation of standing seam panels.
This blog has written instructions and pictures that illustrate each step. However, just in case you are a visual person we have also made an easy to follow video. The blog is only intended to support the video. Follow the instructions within the video for gable trim installation.
After watching the video, we are confident that even without any metal roofing experience you will be able to install gable or rake trim correctly.
Our staff at Western States Metal Roofing consists of friendly sales associates that have experience selling and installing metal roofing. Our goal in this article is to help you with your metal roofing project. Whether you need help with the installation of the trim and flashing or you need a great price on your metal roofing, we have you covered.
Our goal in this article is to explain:
- What is gable trim?
- Rake trim vs. gable trim
- How much does gable trim cost?
- Costs
- Do you need gable trim?
- Required tools and supplies
- Preparation of gable trim
- Cutting gable ends for eaves
- Cutting gable ends for ridge
- Preparation of adjacent gable trim
- Overlapping gable trim
- Fastening gable trim
If you enjoy this article then we recommend that you visit watch our exposed fastener panel installation playlist on YouTube:
What Is Metal Roof Gable Trim?
Gable trim is used to finish off the edge of your roof. It’s installed on the two high sides of the roof, not the low side of the roof that follows the pitch. There is also a kick-out on the bottom of the gable trim that will help direct water away from your wall. A gable trim provides a watertight seal for your roof when combined with a sealant.
Rake Trim Versus Gable Trim
You might hear these two terms and be wondering what the difference is. Not to worry - gable and rake are just interchangeable terms for the exact same thing.
How Much Does Gable Trim Cost?
Pricing on gable trim depends on the length and gauge of the trim you need. Generally speaking, prices can average around $20 to $25 for a 10’ piece of gable trim.
Does A Metal Roof Need Gable Trim?
Gable trim serves an integral role in strengthening and sealing your entire roof system. Gable trim creates watertight transitions in the critical locations where the roof’s slope or direction changes. Together with metal roofing panels, gable trim reduces the chance of water leaking through ceilings. If you want a clean looking and weather-tight roof, then you will need gable trim.
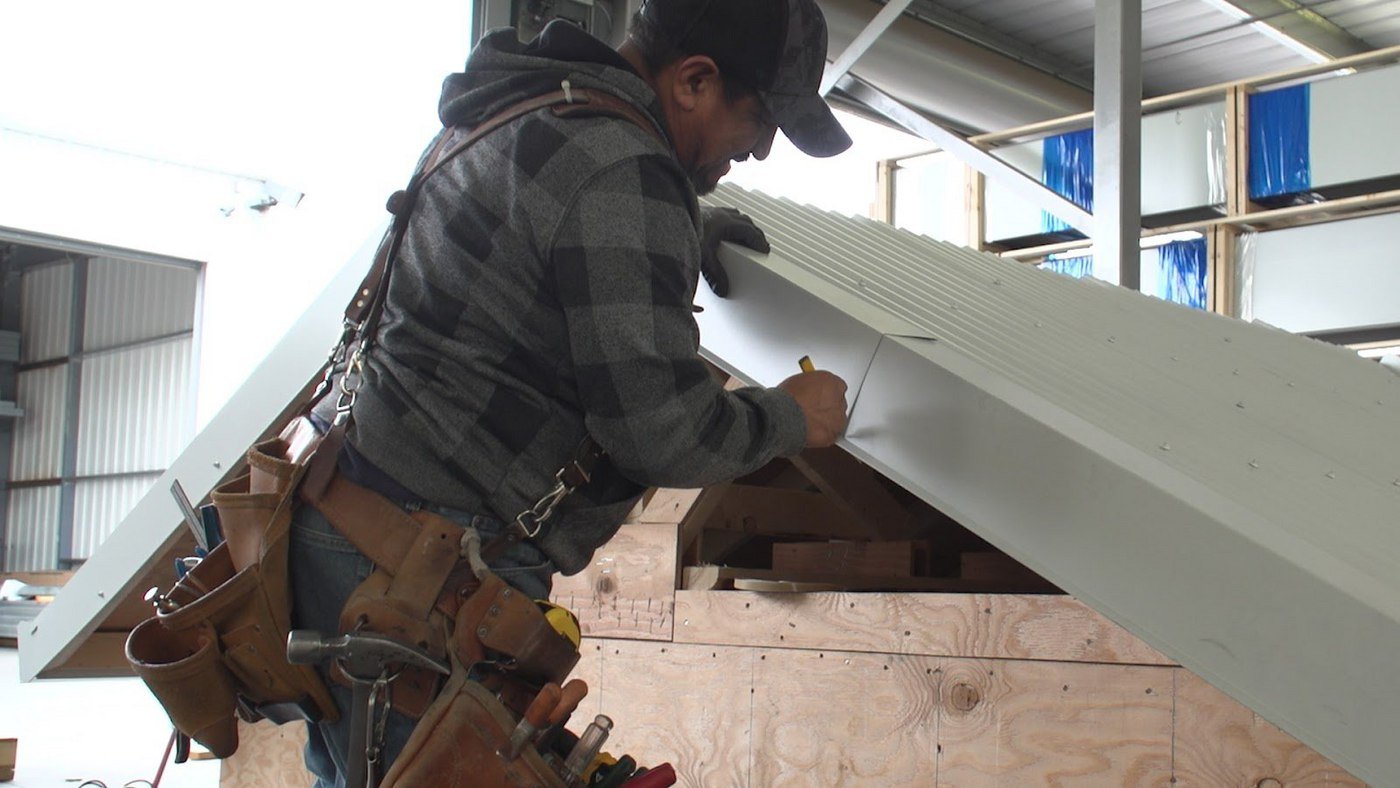
Installing Gable Trim: A Step-By-Step Guide
We would suggest that you read the manufacturers installation guide prior to installation of gable flashing on a metal roof. You’ll also want to make sure to be in compliance with local building code requirements.
What Tools And Supplies Will You Need To Install Gable trim:
- Metal cutting snips
- Hand seamer
- Carpenter’s pencil
- Roofing gloves
- Caulking gun
- Silicone sealant
- Protractor
- Speed square
- Sliding T-Bevel
- Combination square
- Double sided Butyl Tape
- ¼ x ⅞ Inch metal to metal lap screw with sealant washer
Preparation Of Gable Trim
When measuring metal roofing panels, don’t forget to account for overhang of roofing panels. Three inches is needed for overlaps and a minimum of 1” for ridge preparation. That means you will have 4” of materials loss. For example if you had 10’-0” of coverage then you would need a 10’-4” piece of gable trim. Prior to preparing gable trim, you will need to know the pitch of your roof. Here’s how to calculate your roof pitch.
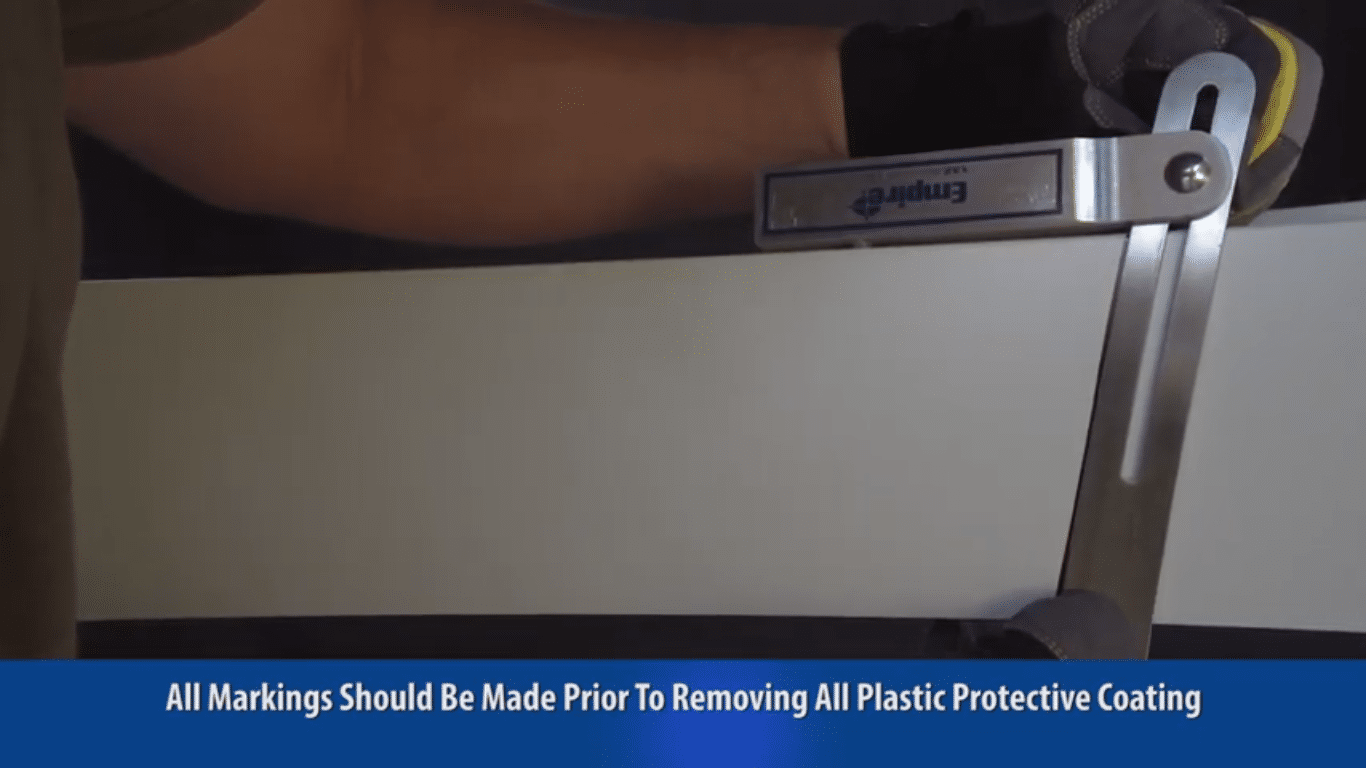
- On a piece of gable trim align speed square based on the pitch of your roof.
- Mark angle on plastic coating.
- Lock drawn angle into t-bevel. The angle will be needed to prepare the gable trim.
How To Cut And Finish Gable Trim At The Eave Of A Metal Roof
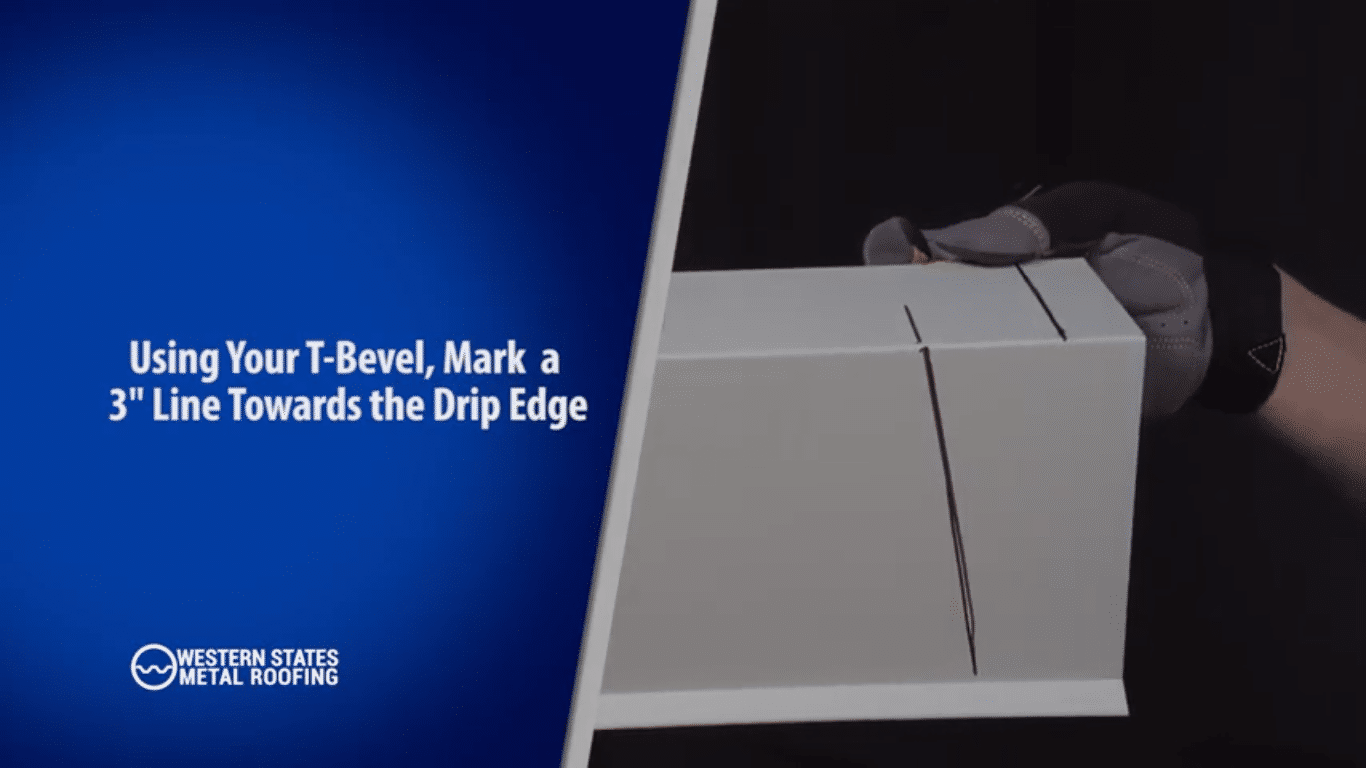
- Make a 3” mark from the edge on top of the gable trim.
- Make a 1” mark from the edge on top of the gable trim.
- Using T-Bevel which was previously locked to the pitch of your roof, mark a line on the drip edge side of the gable up to the 3” mark.
- Using your combo square, mark a 45 degree line along the drip edge.
- Along your angled line, make a mark 1” down from the top.
- Connect the mark to your 1” top side mark. This will act as a stiffener.
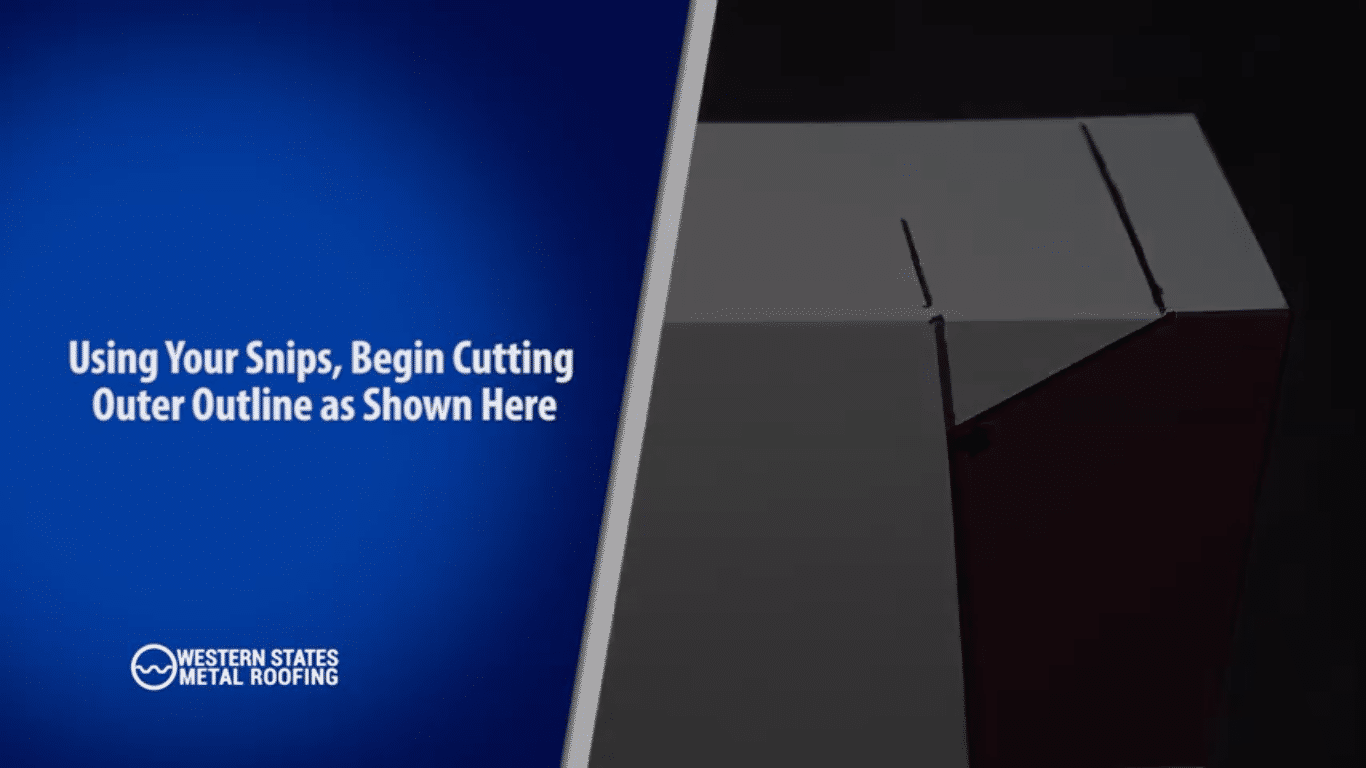
- Using snips, begin cutting the outer outline.
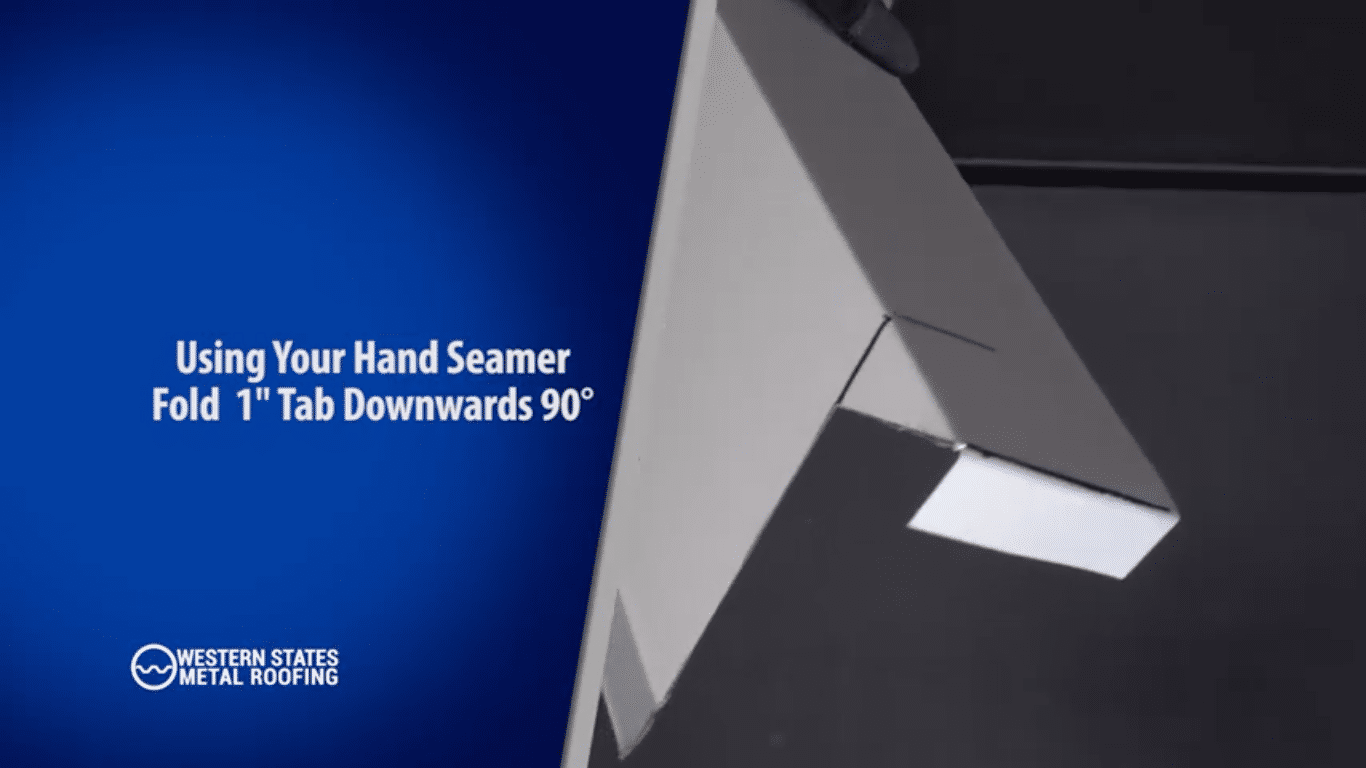
- Using your hand seamer, fold 1” tab downwards until 90 degrees.
How To Cut And Finish Gable Trim At The Ridge Of A Metal Roof
- Make a 1” mark from the edge on top of the gable trim.
- Using your previously locked t-bevel, draw a line from the 1” mark inwards towards the drip edge.
- Mark a parallel line at the 1” mark.
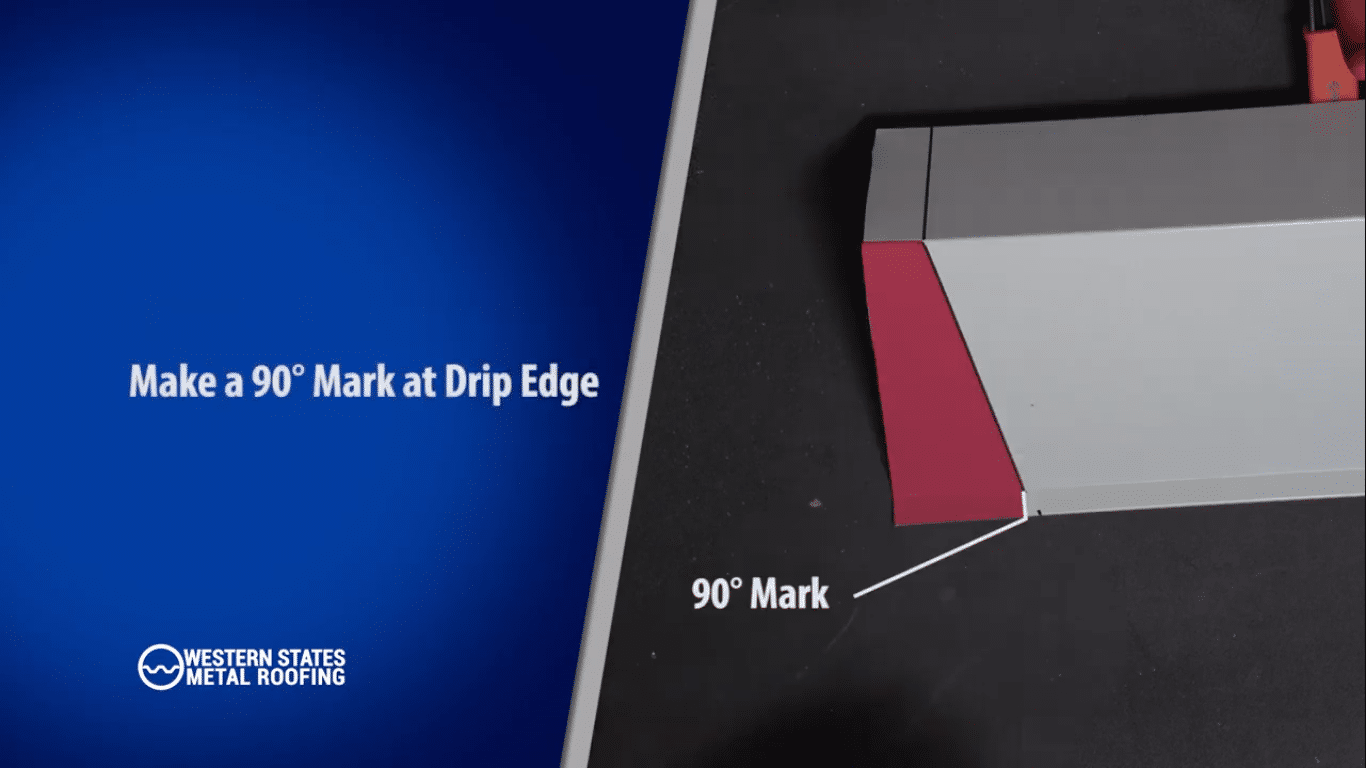
- Make a 90 degree mark at the drip edge and across to the edge of the gable.
- With your snips, cut away the outer outline.
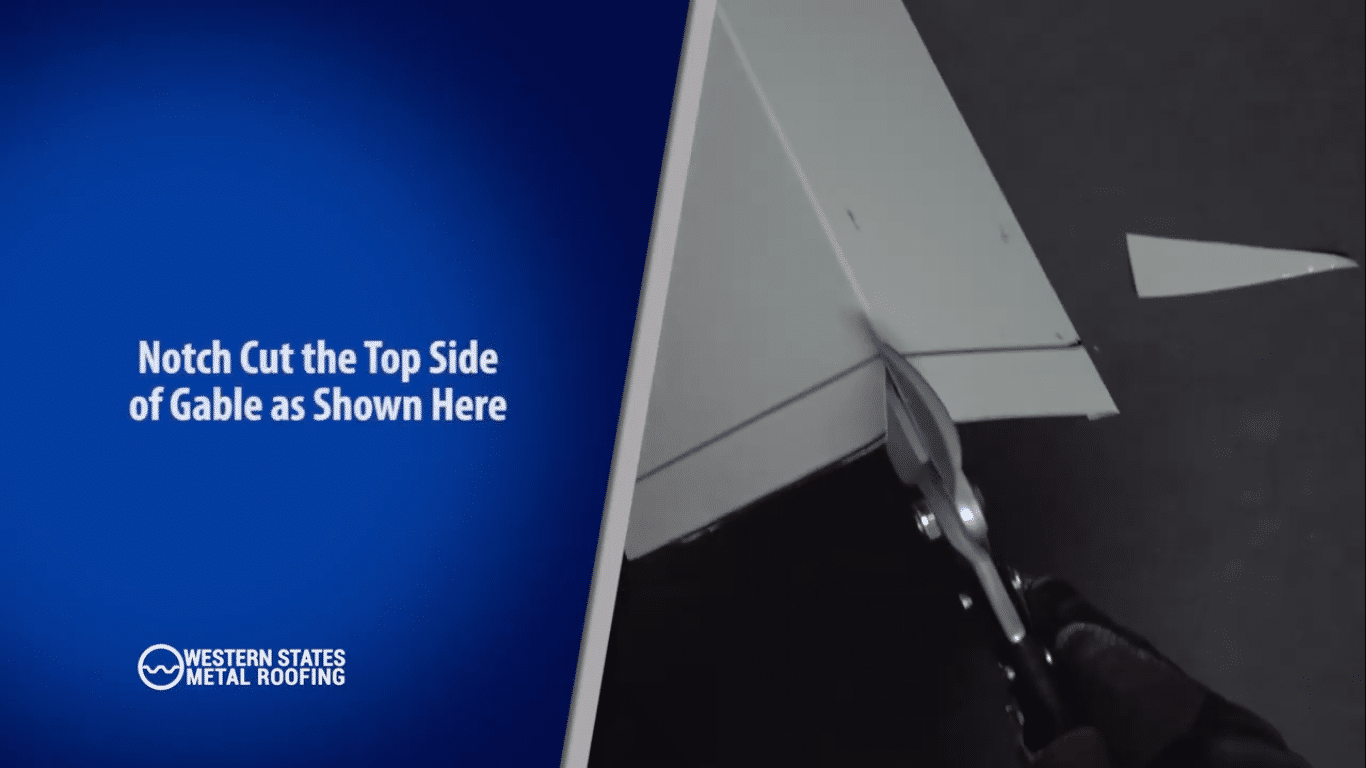
- Notch at the topside of the gable.
- Cut a 1” notch at the hem of the gable.
- Using your hand seamer, bend the top side tab down to the angle of your roof.
Preparation Of Adjacent Gable Piece
- Make a 1” mark from the edge on top of the gable trim.
- Using your previously locked t-bevel, draw a line from the 1” mark inwards towards the drip edge.
- Make a 90 degree mark at the drip edge.
- Using your snips, cut the outer outline.
- Using your hand seamer, bend the top side tab downward based on the pitch angle of your roof.
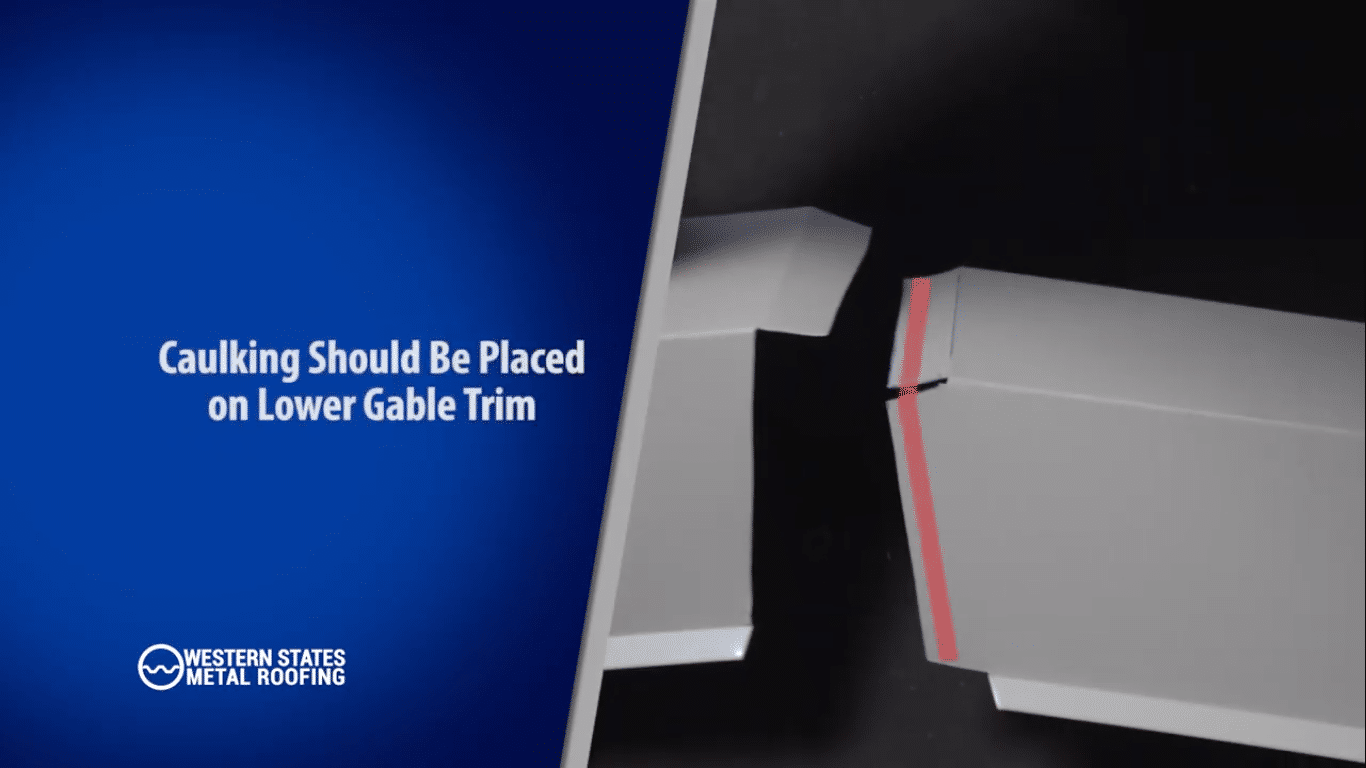
- Place caulking on the lower gable trim - this allows your trim to fit together.
- Apply silicone sealant prior to fastening.
How To Overlap Gable Trim
- Your gable trim should be overlapped 3 inches
- Mark both gable trim hems 3” at the edge.
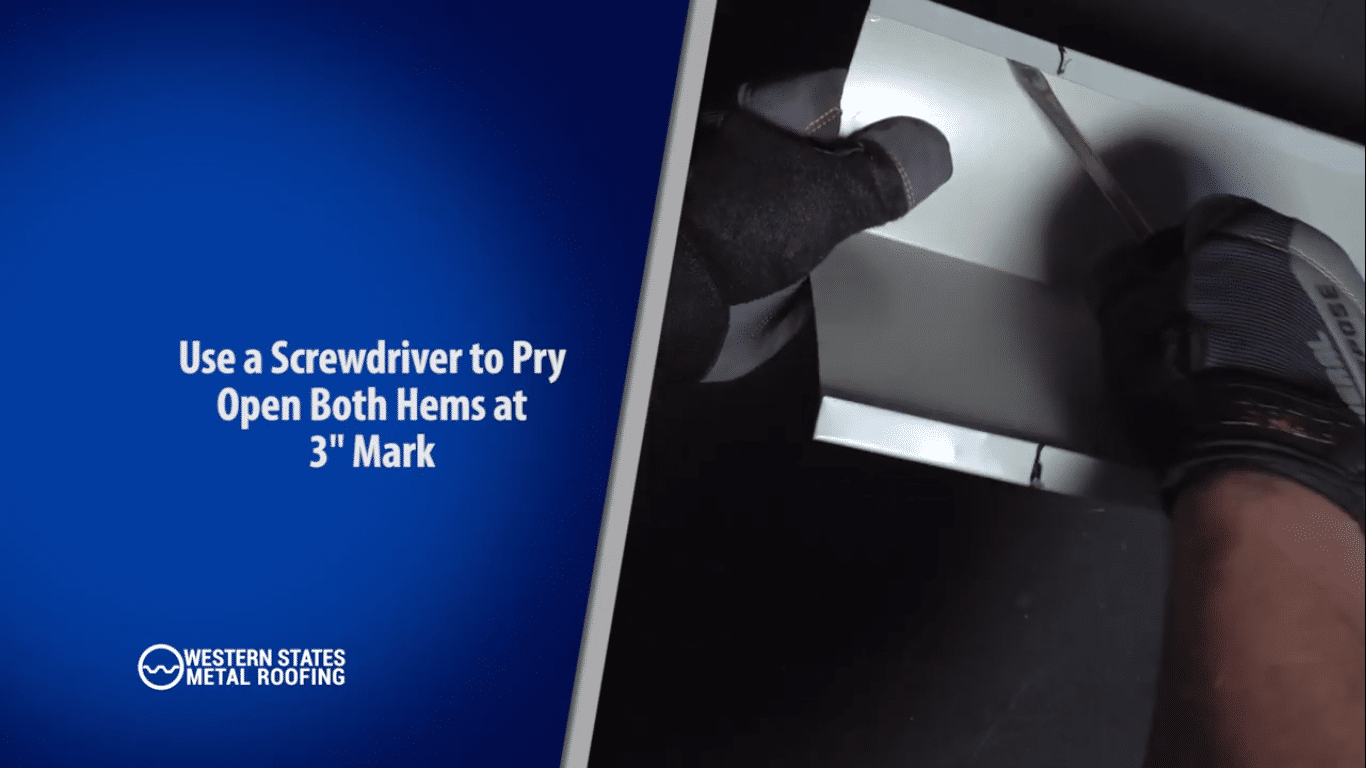
- Use a screwdriver to pry open both hems at 3” mark.
- Using your snips, remove both hems and the drip edge of gable at 3” mark.
- Slightly pry open hems of the adjacent gable trim - this allows the notch piece to slide in smoothly.
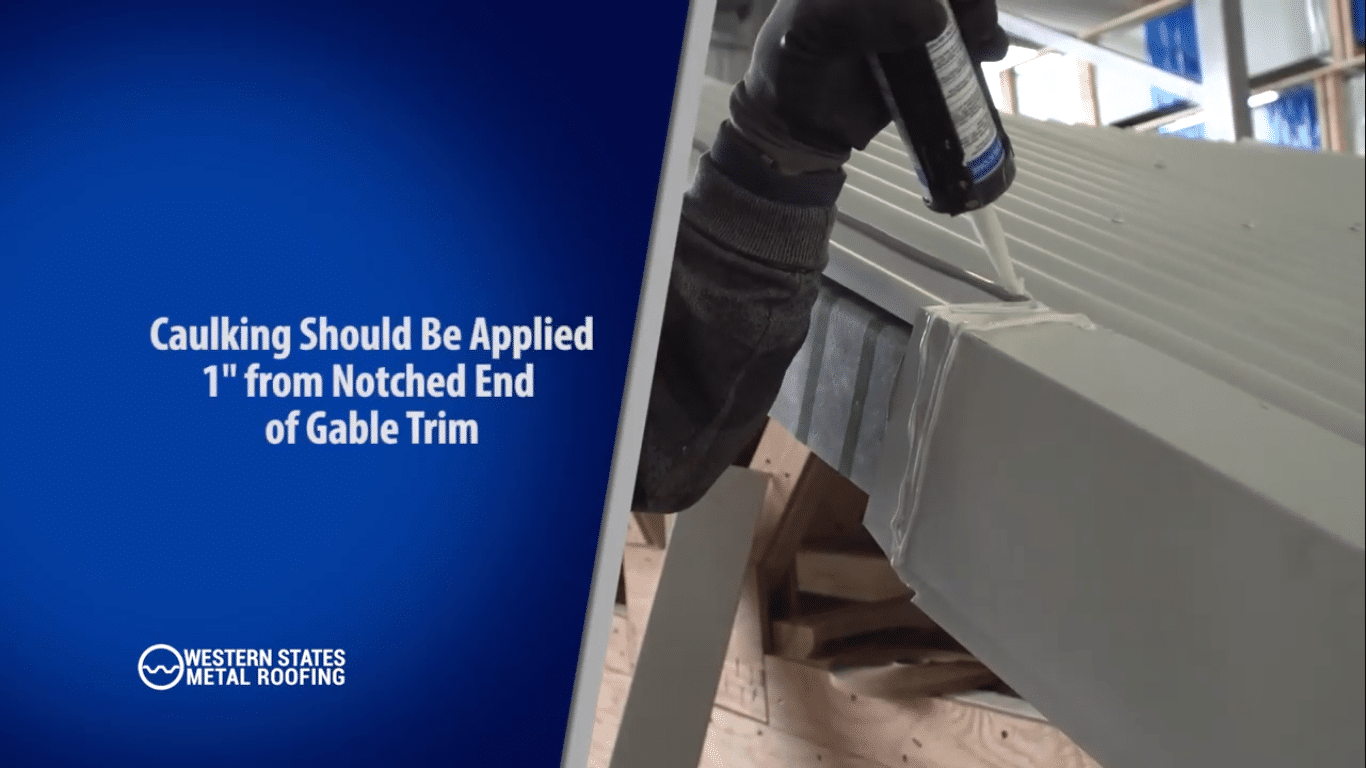
- Apply 1” of caulking to the notched side of the gable trim so that the caulking side of the gable should underlap the second piece of gable trim.
- Clean off any excess sealant.
How To Fasten Gable Trim
- Prior to fastening gable trim, remove all protective plastic from gable trim.
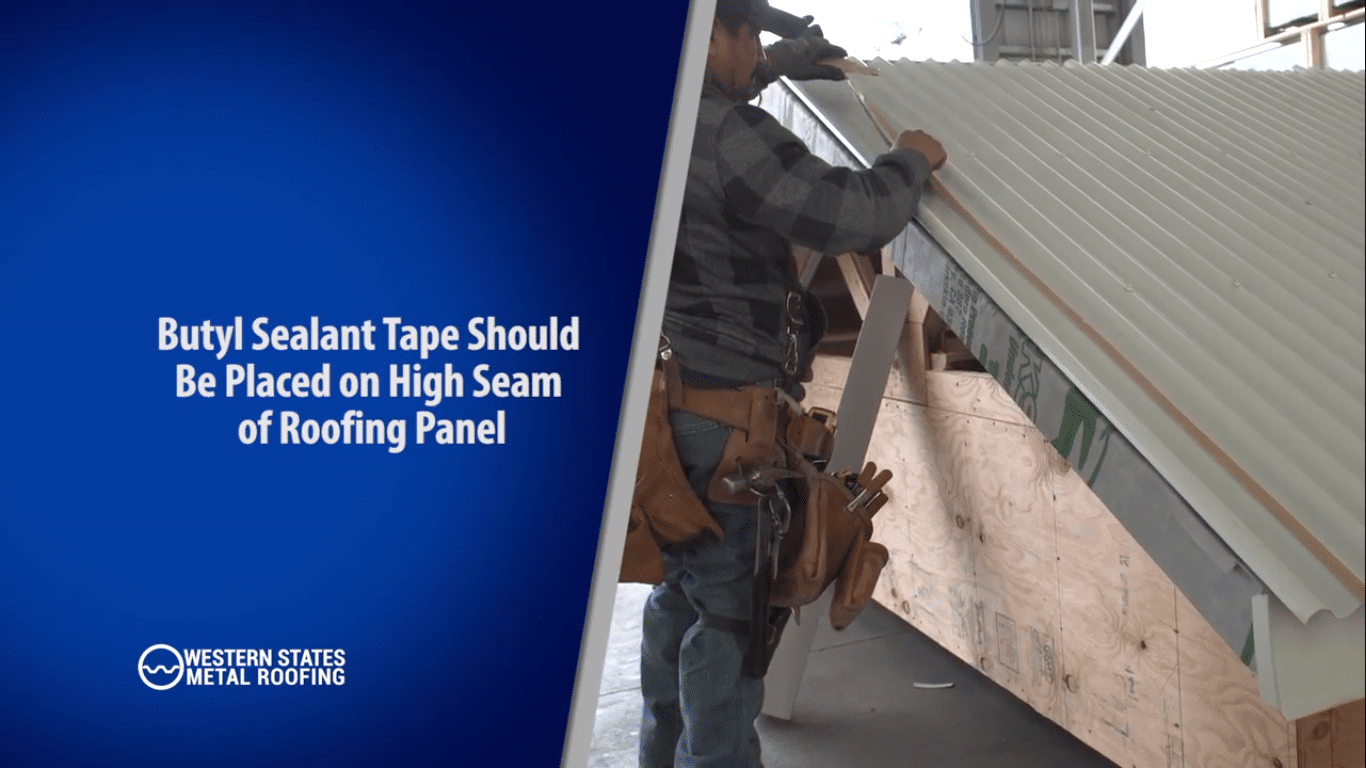
- Butyl sealant tape should be placed parallel to the gable on the high seam of the roofing panel.
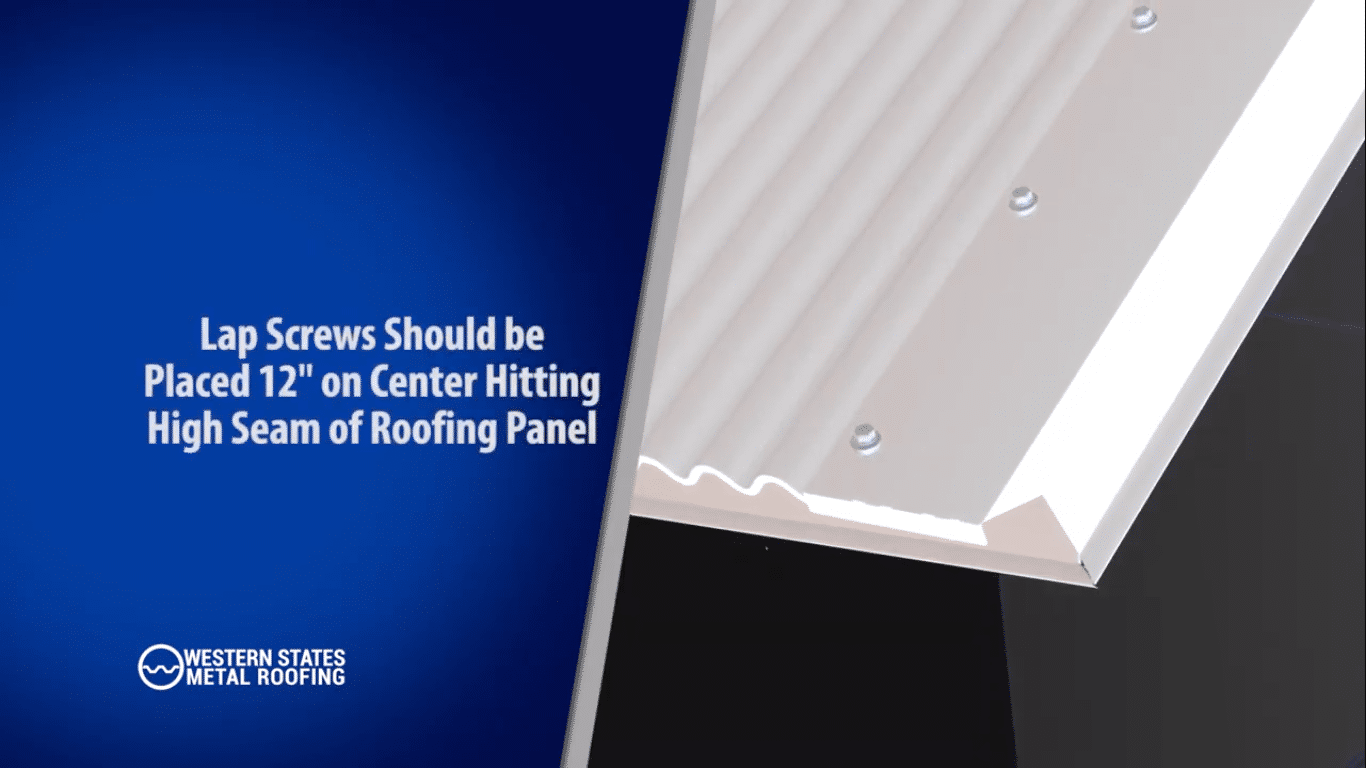
- Fasten gable trim with ¼ x ⅞ Inch metal to metal lap screws.
- Lap screws should be placed 12” on center hitting the high seam of roofing corrugation.
- Additional screws should be placed 12” on face staggered from top screws.
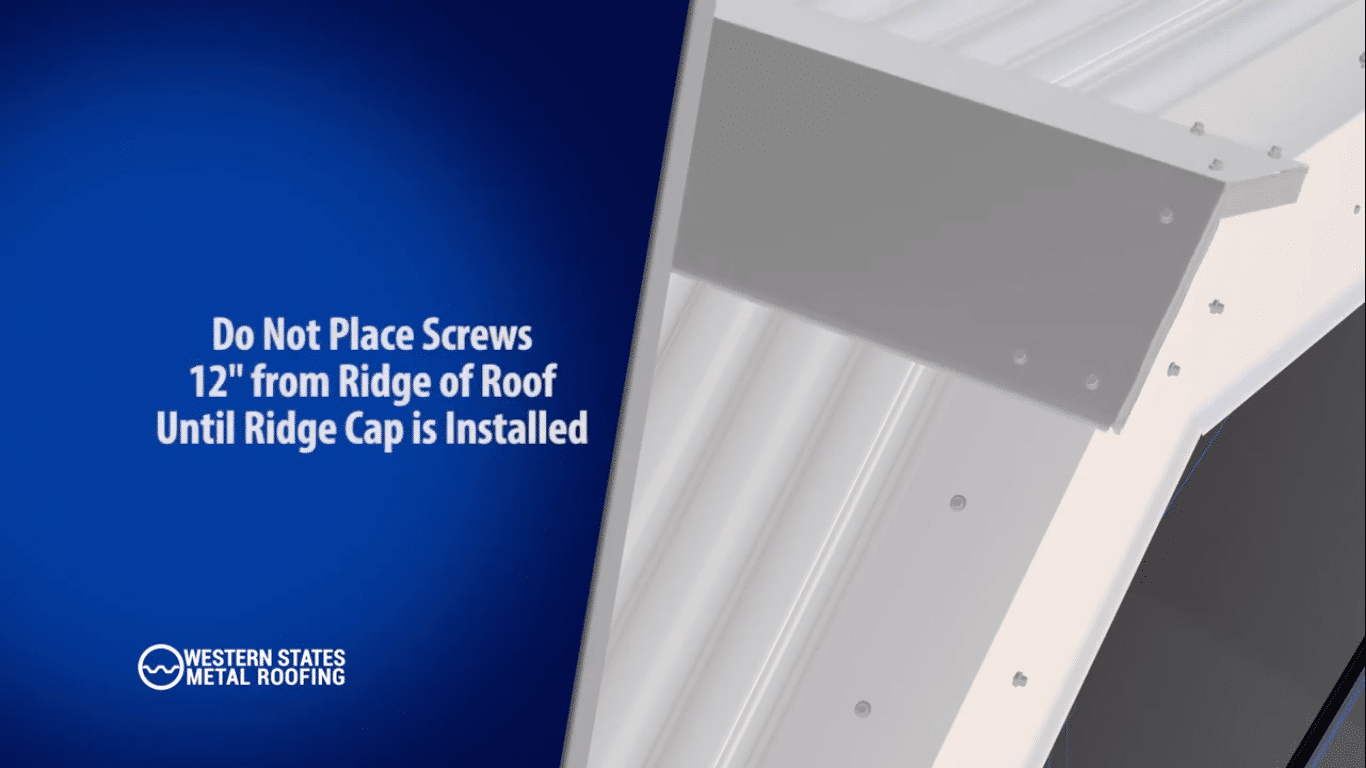
- Do not place screws 12” from the ridge of the roof until ridge cap is installed.
Learn How To Install The Next Piece Of Trim
Now that you know how to install gable trim it’s time to learn how to install eave or ridge cap.

Buy Your Metal Roofing Panels Manufacturer Direct
It's a great idea to get pricing from more than one company. When you buy your metal roofing from Western States Metal Roofing you are buying directly from the manufacturer. There are no middle men involved. This will save you 15% to 50%.
If you have not purchased your metal roofing panels our online form is quick and easy to fill out. We would like to offer you a free quote.
Delivery throughout the entire United States. Our goal is to offer inexpensive delivery and excellent customer service. Check out our google reviews and give us a call at 877-787-5467.