

Getting ready to install a standing seam metal roof? You’ll need to know how to cut and bend the panels. Luckily, you’re in the right place!
This article is a step by step guide on how to correctly cut and bend standing seam panels. You can also use the written instructions to follow along with our video below.
Marking and Cutting Your Standing Seam Panel
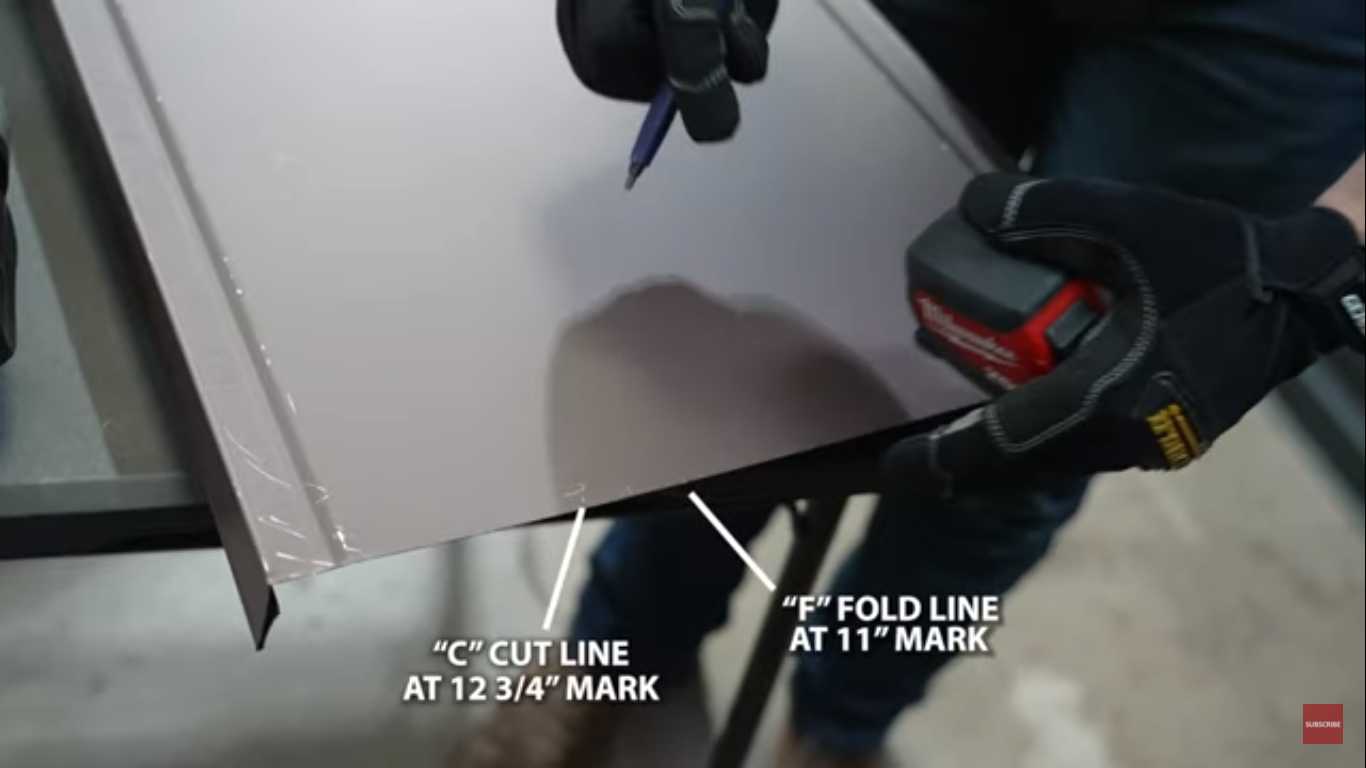
In most installations, you’ll need to cut the last panel down. For this example, we will cut a 18” panel down to 11”.
To cut down your standing seam panel:
- Make your first mark at 11” for a fold line.
- Make a second mark at an additional 1 ¾” for the cut line.
3. Do the same procedure on the opposite side of the panel.
4. Chalk or trace a line across the cut mark depending on the size of your panel. TIP: Only make your cut line mark initially to help prevent cutting mistakes when multiple installers are on a site.
5. Take your double cuts and align the blade to the left or the right side of the mark.
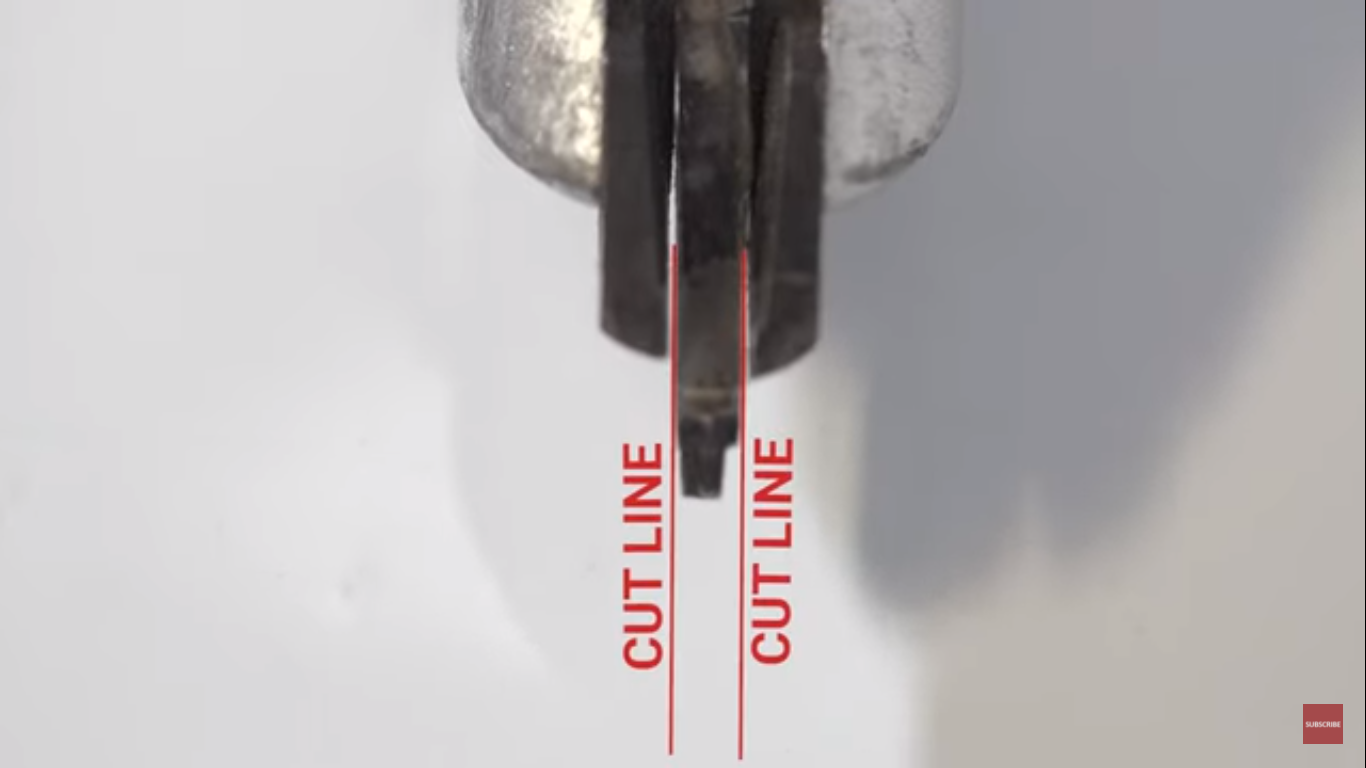
6. Cut through your panel.
Folding A Standing Seam Panel With A Roller Bender
Now that we have our cut, it’s time to create the fold line on the panel.
- Mark your fold line on your panel just like you marked your cut line above.
- Make a small notch on the fold line to help the panel bend easier.
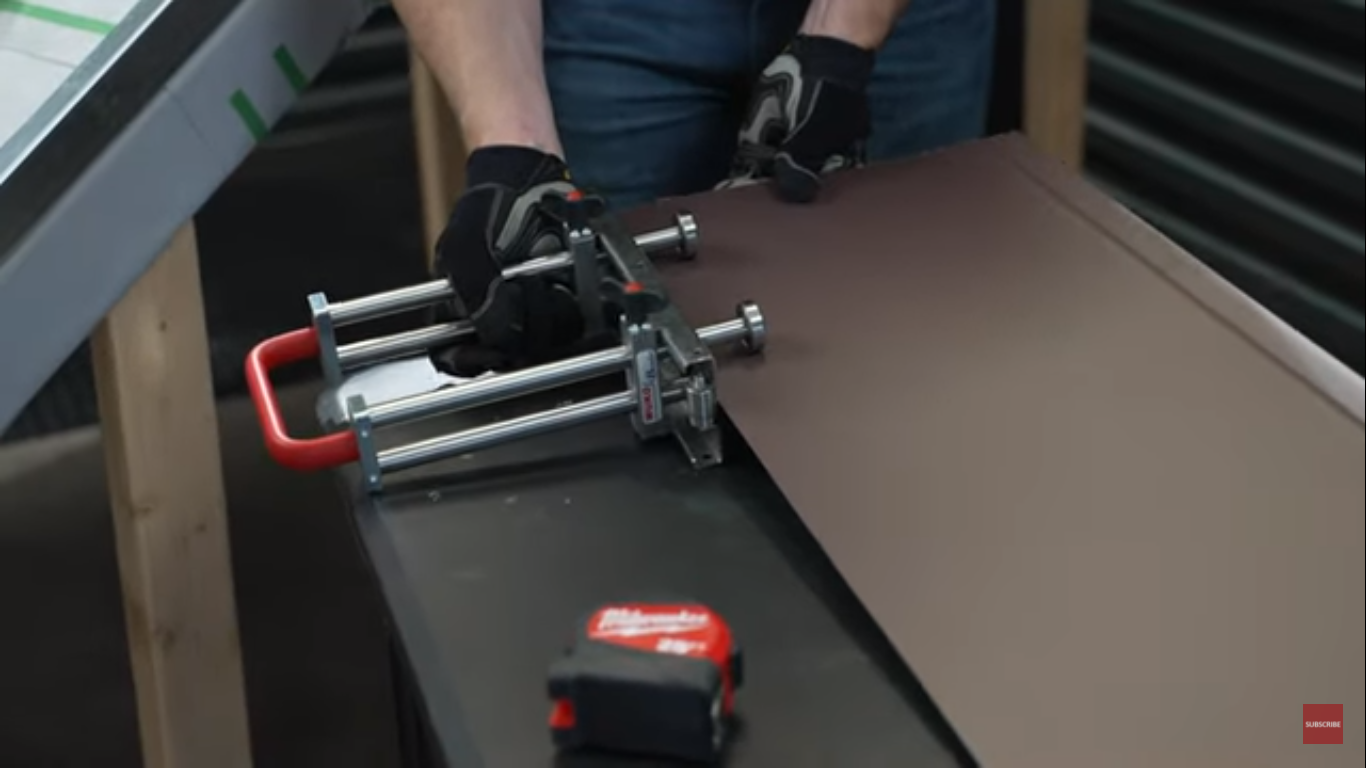
- Take a roller bender and set it at 1 ¾” depth and double-check with your tape measure.

4. Flip over the panel.
5. Run the three wheels down and the single wheel up. TIP: Avoid one-wheeled roller benders as they don’t stay square on the panel.
6. Set your roller bender on your depth and roll the panel.
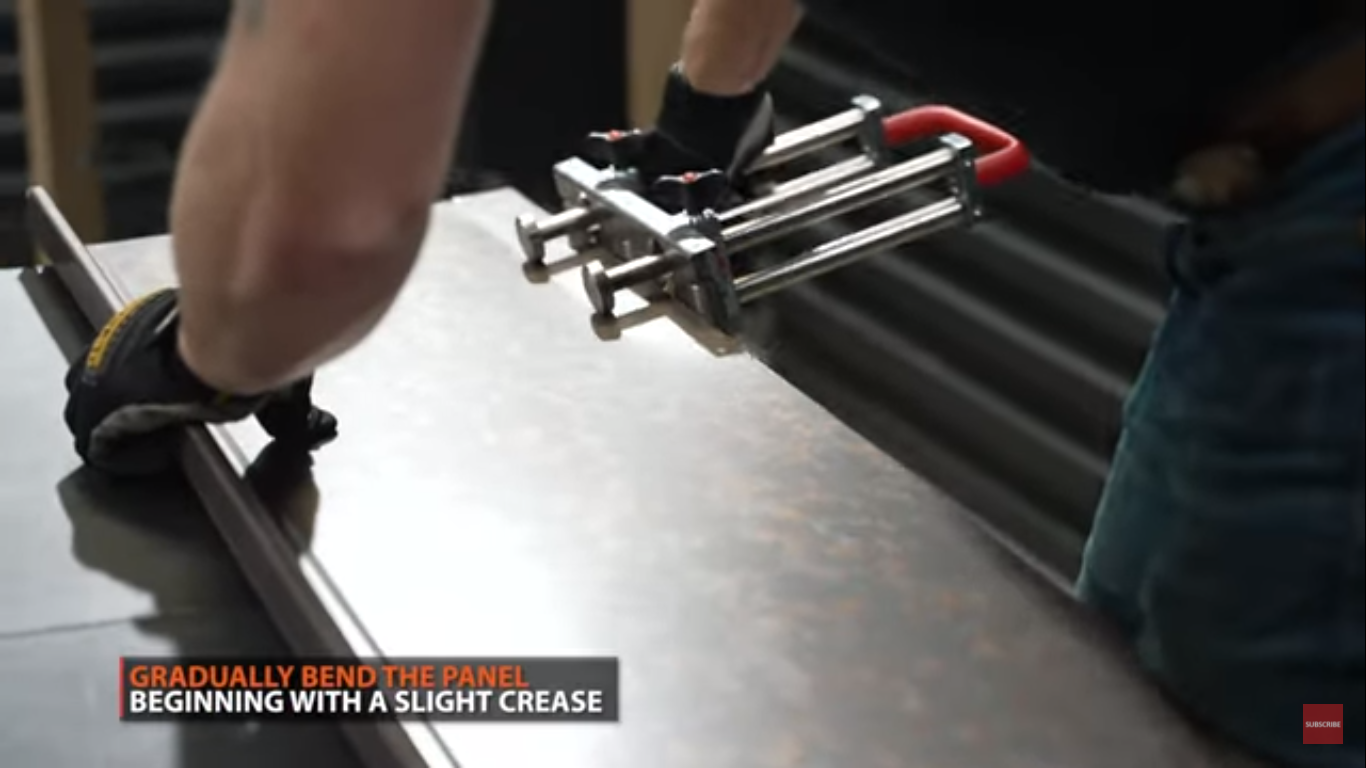
7. Start with a slight crease and gradually bend as you go TIP: Clamp the panel down or have an assistant secure it to make the bending process easier.
8. After using the roller bender, additional adjustments can be made using your hand seamer or by hand to get it to a straight 90 degrees.
Installing Standing Seam Metal Roofing
Installing a standing seam metal roof is a more complex process compared to other types of metal roofing. Western States Metal Roofing has helped make it easier by creating a standing seam installation video series, with step by step video guides on how to correctly install a standing seam metal roof.
Ready for a quote on standing seam panels? Request a free quote today!